
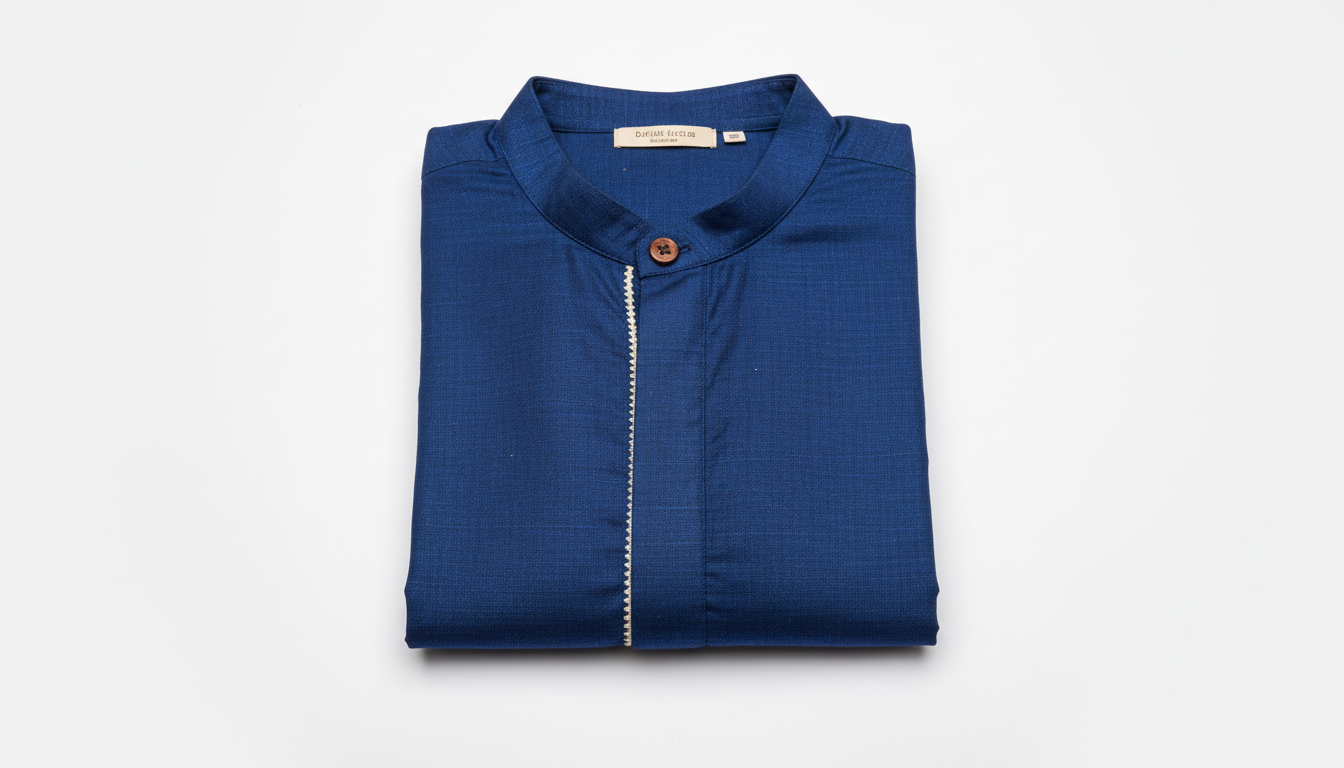
A kurti seller in Jaipur has twelve new pieces photographed flat on a white sheet, folded neatly, tags visible. They look fine. They also look like nothing is happening in them. She knows a model shot would triple her click-through on Meesho, but booking a model for twelve pieces means a full day, a photographer, and a bill she cannot justify for a batch this small. What she actually wants to know is simpler than a photoshoot: how to put clothes on an AI model using the photos she already has, without learning design software or hiring anyone.
That question has a real, short answer. You do not need Photoshop skills or a studio. You need one clear photo of the garment and a description of the model and setting you want. This guide walks through the exact process, what makes the source photo work or fail, and what to expect from the result before you try it yourself.
What you need before you start
Three things, and only one of them takes real effort.
A clean photo of the garment. This is the input everything else depends on. Lay the piece flat on a plain surface or hang it on a hanger against a plain wall, in daylight or bright even light. No wrinkles bunched into shadows, no busy background, no half the garment cut out of frame. If the AI cannot see the neckline, the print, or where the fabric falls, it has to guess, and guessing is where results start looking off.
A sense of the model and setting you want. Age range, build, skin tone, the kind of pose (standing straight for a print-heavy kurti, three-quarter turn for a fitted top so the cut reads), and where the shot is set, a plain studio background, an outdoor look, whatever matches how you'll use the image. You don't need exact words for this. A plain sentence like "a woman in her late twenties, standing, smiling, studio background" is enough.
Brand or style context, if you have it. Not required, but it helps. If you're generating shots for a specific product line or want a consistent look across SKUs, a note on your brand's style (festive, minimal, streetwear, traditional) keeps every image on-theme instead of each one looking like a different shoot.
That's the full list. No lighting kit, no props, no second person in the room.
Compare that to what a traditional shoot needs before anyone even presses a shutter: a booked model (often ₹3,000-8,000 for a half-day in a smaller city, more in Mumbai or Delhi [needs source: India model day-rate benchmark]), a studio or location, someone to steam and style the garment on the day, and a photographer who may or may not be free the week you actually need them. The AI route collapses all of that into the photo you can take on your phone right now.
The step-by-step process
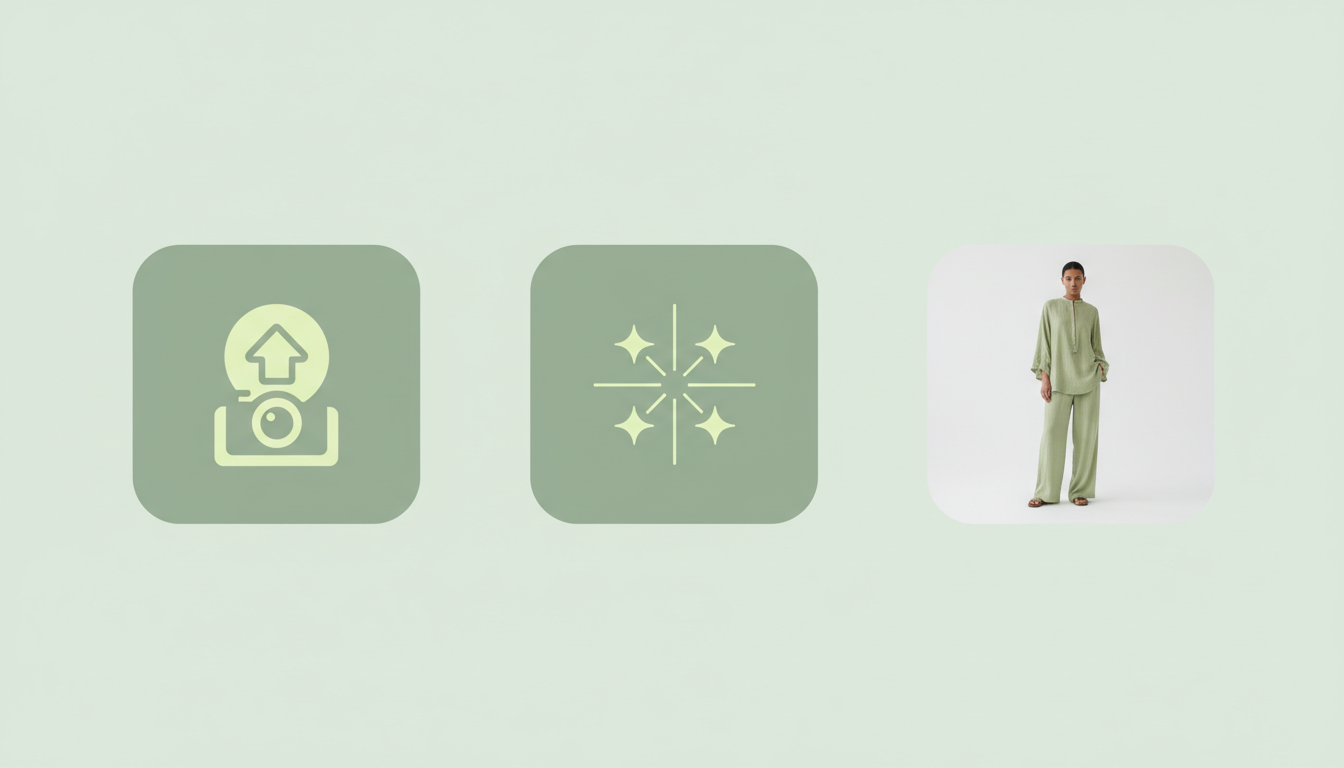
Step 1: Upload your garment photo
Start with the flat-lay or hanger shot. Most AI model tools, including Scalio's clothes changer, accept a single photo as the starting point. This photo is the source of truth for color, print, and cut, everything downstream is built around what's in this image.
Step 2: Describe the model and the context
This is where you tell the AI who is wearing the outfit and where. Be specific but brief: gender, approximate age, pose, and background. If you're building a catalogue, describing the same model profile across a batch keeps your listings visually consistent, which matters more on a marketplace grid than any single "perfect" shot.
A useful habit here: describe the scene the way you'd brief a photographer, not the way you'd search Google. "Model standing at a slight angle, hands relaxed, outdoor courtyard, natural light" gives the AI more to work with than "nice photo of girl in kurti."
Step 3: Generate and review
The tool places your garment on the generated model and builds the rest of the image around it, background, lighting, pose. This is the actual "how to put clothes on an AI model" moment, everything before it was prep. Expect the first result to be close but not always final. Check the parts a shopper's eye goes to first: does the neckline sit right, does the print repeat correctly across the fabric, do the sleeves follow the arm naturally.
Step 4: Regenerate or refine what's off
If something's wrong, a hand looks stiff, a hemline sits at the wrong length, don't try to fix it manually. Regenerate that image, sometimes with a small adjustment to your description ("longer hemline visible," "hands at sides"). This is faster than any manual retouching and it's normal to need two or three passes before a shot is listing-ready.
Step 5: Export and use across your listings
Once you have a result you're happy with, export it at the size your platform needs. Meesho, Myntra, and Amazon.in each have their own image size and background rules, so it's worth exporting at the highest resolution the tool offers and cropping down rather than the other way around. If you're running the same garment across sizes or minor colorways, you often don't need to redo the full process, some tools let you carry the same model and pose forward and just swap the garment color.
Step 6: Build a repeatable workflow for your next batch
The first garment always takes longest because you're learning what description gets you the result you want. By the third or fourth SKU, most sellers land on a "house style," a model profile, pose, and background they reuse across the catalogue, and generation turns into a quick, almost mechanical step between photographing a new garment and listing it. Save the description that worked well and reuse it as a starting template for the next piece.
Tips for realistic results
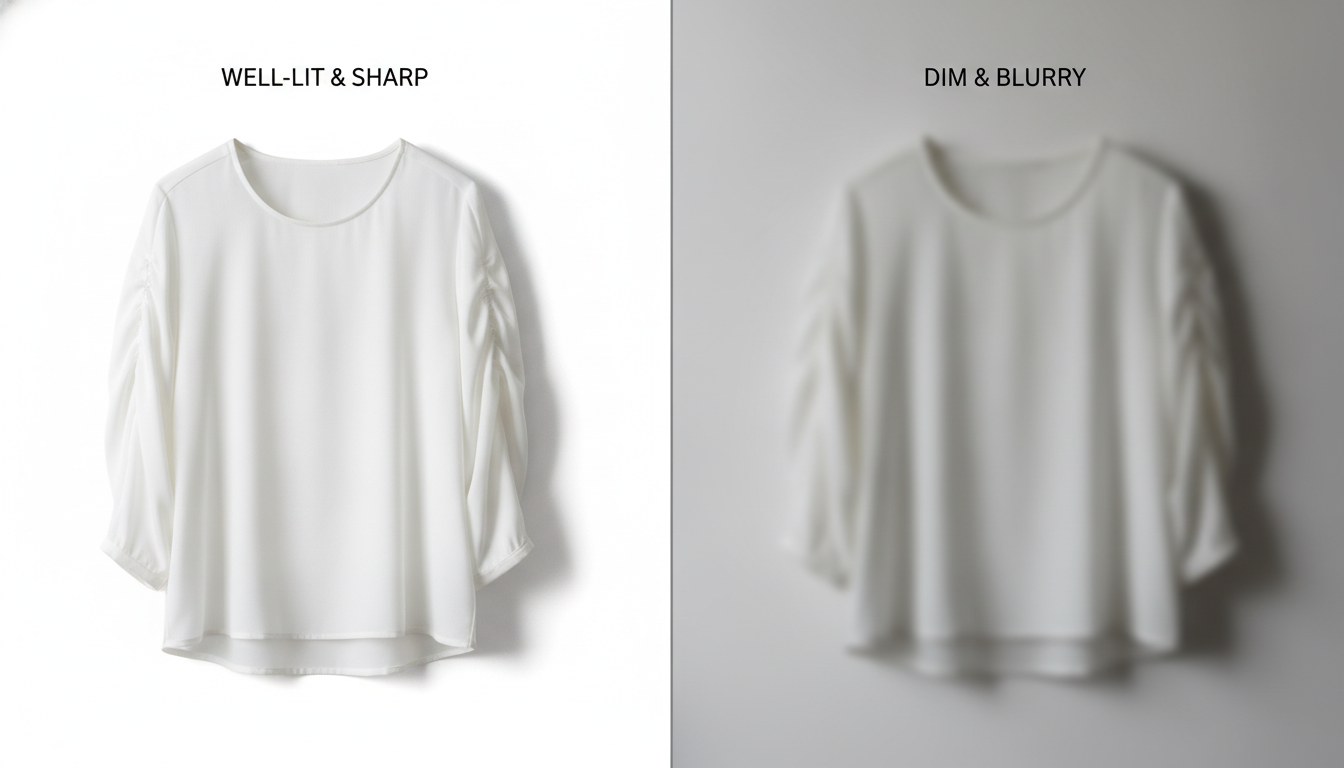
The gap between an AI model shot that looks shot and one that looks obviously generated almost always traces back to two things: the input photo and how specific your description was.
- Lay the garment flat, don't scrunch it. A garment bunched on a hanger or photographed at an angle loses the information the AI needs about how the fabric actually falls.
- Shoot in even daylight, not a mix of light sources. Mixed lighting creates color casts that carry straight into the generated image, a yellow-tinted kurti photo produces a yellow-tinted result.
- Get the whole garment in frame. Cropped sleeves or a cut-off hemline force the AI to invent the missing part, which is where it goes wrong most often.
- Match the model's build to the garment's fit. A flowy anarkali and a fitted co-ord drape differently on different body types. Describing this in your prompt (or picking a matching preset) avoids a mismatch that reads as "off" even when nothing is technically broken.
- Be specific about pose, not just appearance. "Standing, three-quarter angle, one hand on hip" gives you a usable listing photo. "Pretty girl in outfit" gives you a coin flip.
- Check hands, seams, and where fabric meets skin. These are the classic tells in any AI-generated image. If a result looks almost right except for a hand, regenerate rather than ship it.
What this replaces, and what it doesn't
Here's the honest version, because expectations matter more than the tool itself. Putting clothes on an AI model replaces the need to book a live model and a studio for routine catalogue and listing shots. It does not replace a full retouching studio, and it's not built for hero campaign imagery where every pixel needs a human art director's judgment.
For a Jaipur kurti seller uploading twelve new pieces to Meesho, or a Surat manufacturer refreshing a Flipkart catalogue every time a new print comes off the line, this is squarely the job it's built for: consistent, fast, good-enough-to-convert model shots for every SKU, without a shoot booked around each one. Think of it as the difference between calling a photographer for every product and having a background remover on hand for every product, one is a production, the other is a tool you reach for daily.
If you're chasing hero imagery for a big campaign launch, a real shoot with a stylist and photographer still has an edge, particularly for shots meant to carry brand emotion rather than show a garment clearly. Most sellers don't need every image to do that job. They need the listing photo to look like a person is wearing the thing, clearly, consistently, and quickly.
FAQ
Can I use a photo of myself instead of a flat-lay? Yes, some tools accept a photo of you or someone else wearing the garment and can transfer that outfit onto a different AI-generated model. A clean flat-lay or hanger shot tends to give sharper results for print and cut, but a well-lit photo of a person wearing the piece works too, as long as the garment is clearly visible and not obscured by pose or shadow.
How long does it take to put clothes on an AI model? Once you have your garment photo ready, generating a single image typically takes a few minutes, not days. Most of the time in the whole process goes into prepping a clean source photo, not the generation itself. For a batch of SKUs, sellers usually budget an afternoon rather than a day per garment, which is the entire point compared to a traditional shoot.
Will the AI model actually look real, or obviously fake? It depends almost entirely on your input photo and description. A sharp, evenly lit garment shot with a specific model and pose description produces results that hold up on a marketplace listing. Blurry source photos, vague descriptions, or scrunched garments produce the "obviously AI" look people worry about. Check hands and seams before exporting.
Do I need different photos for different garment colors? No, this is one of the bigger time savers. Once you've generated a model and pose you like for one colorway, many tools let you swap in the same garment in a different color and keep the same model, pose, and background, instead of starting the whole process over for every color variant you stock.
Is this the same as a virtual try-on feature? No. A virtual try-on lets a shopper see how a garment might look on themselves, it's a buyer-facing feature on a storefront. Putting clothes on an AI model is a seller-side process for producing the catalogue and listing photos you sell with in the first place. Different job, different user.
Try it on your own garment photo
The process is short enough to run through in one sitting: a clean garment photo, a short description of the model and setting, and one or two regenerations to get the details right. That's the entire distance between a flat-lay sitting in your camera roll and a listing photo that actually gets clicked.
If you've got a batch of SKUs waiting on model shots, Scalio turns a product photo and a little brand context into model-wearing photos in minutes, no live shoot needed, from ₹999/month instead of a ₹10K+ agency or photographer booking. Upload one garment photo and see the first result before you commit to anything.